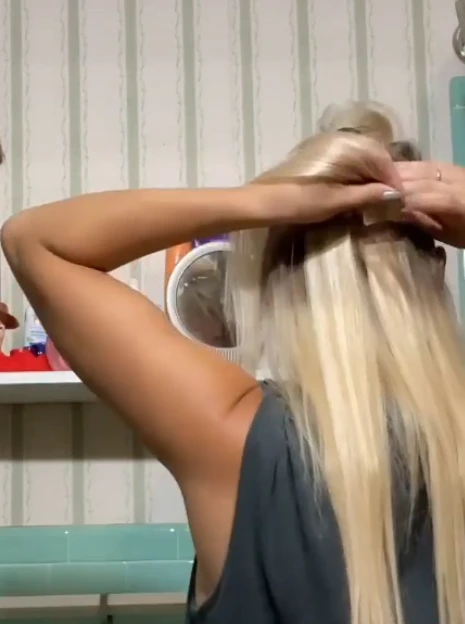
Tape In Sandwich Method Guide
Looking for a reliable way to install tape-in hair extensions? The tape in sandwich method is one of the most secure and natural-looking techniques available. In this guide, we’ll show you how to use the tape in sandwich method step by step to achieve long-lasting, seamless results without damaging your natural hair.
What Is the Tape In Sandwich Method?
The tape in sandwich method works by placing a thin strand of your natural hair between two tape-in wefts—like a sandwich. This ensures a secure hold and an even, natural blend with your own hair.
Step-by-Step Tape In Sandwich Method
- Section the Hair
Start by parting your hair horizontally from the nape upward. Clip the top sections away to reveal a clean row. - Choose a Thin Hair Strand
Use a tail comb to select a slice of hair about 0.5–1 cm wide. It must be thin enough for the adhesive to bond properly. - Apply the Bottom Weft
Place the first tape-in weft underneath the section, adhesive side up. Press gently to hold. - Seal with Top Weft
Align the second weft adhesive side down, directly over the first one, to “sandwich” your natural hair in between. - Press to Secure
Press the tapes together firmly using your fingers or flat pliers for a strong seal.
Why Use the Tape In Sandwich Method?
- Natural Look: Hair is evenly distributed, so the extensions blend seamlessly.
- Long-Lasting Hold: When properly applied, this method ensures the extensions stay in place for 6–8 weeks.
- Gentle on Hair: No heat or glue is needed, making it a safer method for most hair types.
Pro Tip:
- Avoid washing your hair or using heavy products on the roots for 48 hours after installation to allow the adhesive to fully cure.
- Avoid water or air from being trapped in the bonding area during installation
- If the stickiness is not strong, you can use a heating plate to heat it for 1-2 seconds
Final Notes
The tape in sandwich method is ideal for anyone seeking a salon-quality finish with at-home ease. Proper installation and aftercare ensure your extensions stay beautiful, soft, and long-lasting.

Pingback: Why Tape-In Extensions Lose Stickiness? | Runature® Adhesion Fixes