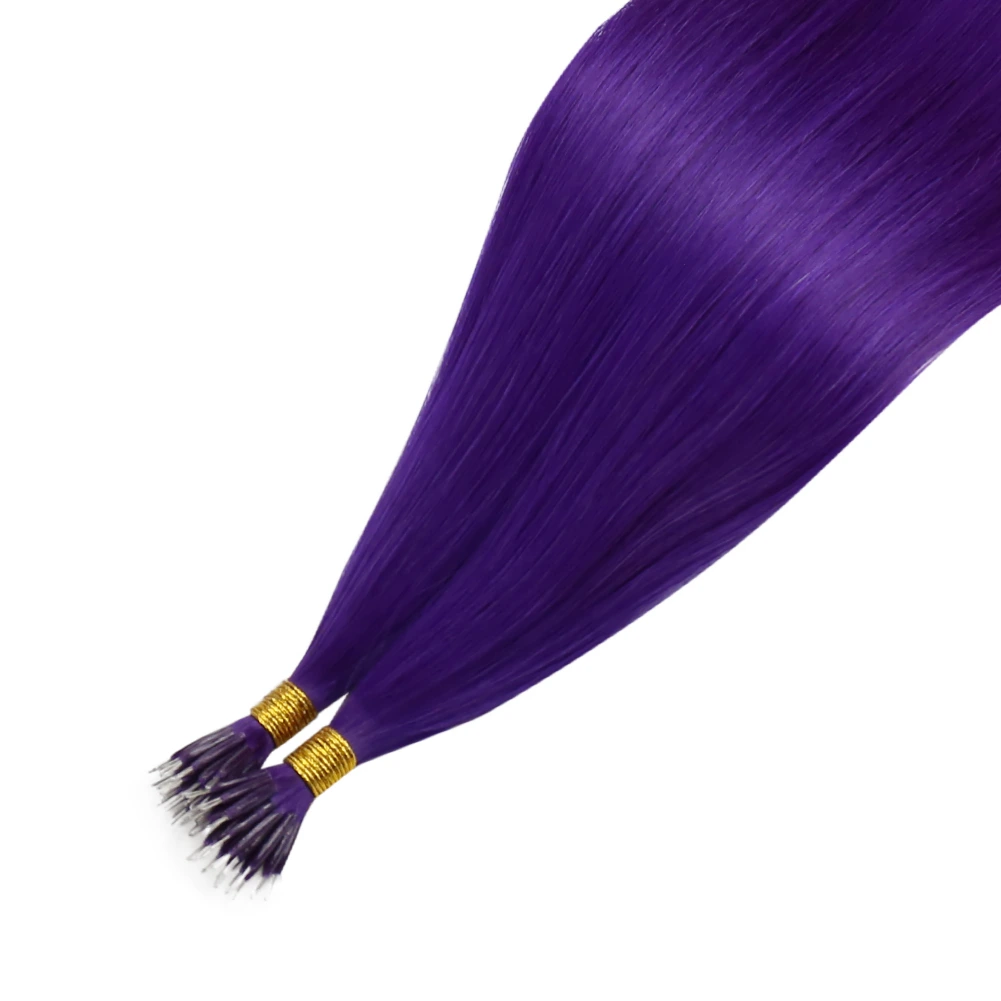
Nano bead hair extensions (also called nano ring extensions) are one of the most discreet and lightweight professional installation methods. Because the beads are extremely small, the attachment points are nearly invisible and comfortable for long-term wear. However, installation precision is critical—incorrect technique can cause slipping, shedding, or bead loosening later.
This guide explains the full installation workflow and highlights the exact steps where mistakes most often lead to nano beads falling out.
What You Need Before Install Nano Beads Hair Extensions
Tools checklist

Preparation matters:
Hair must be clean, dry, and product-free before installation. Oils or conditioner create slip and prevent beads from gripping properly.
⚠️ Skipping proper prep is the #1 cause of extensions sliding out early.
Step 1 — Wash and Completely Dry the Hair
Use a clarifying shampoo to remove:
- Oils
- Silicone buildup
- Conditioner residue
- Styling products
Do NOT apply conditioner near the roots.
Blow-dry hair completely. Nano beads should never be installed on damp hair because moisture reduces friction inside the bead.
Mistake that causes slipping later:
Installing on conditioned or damp hair → beads lose grip and slide within days.
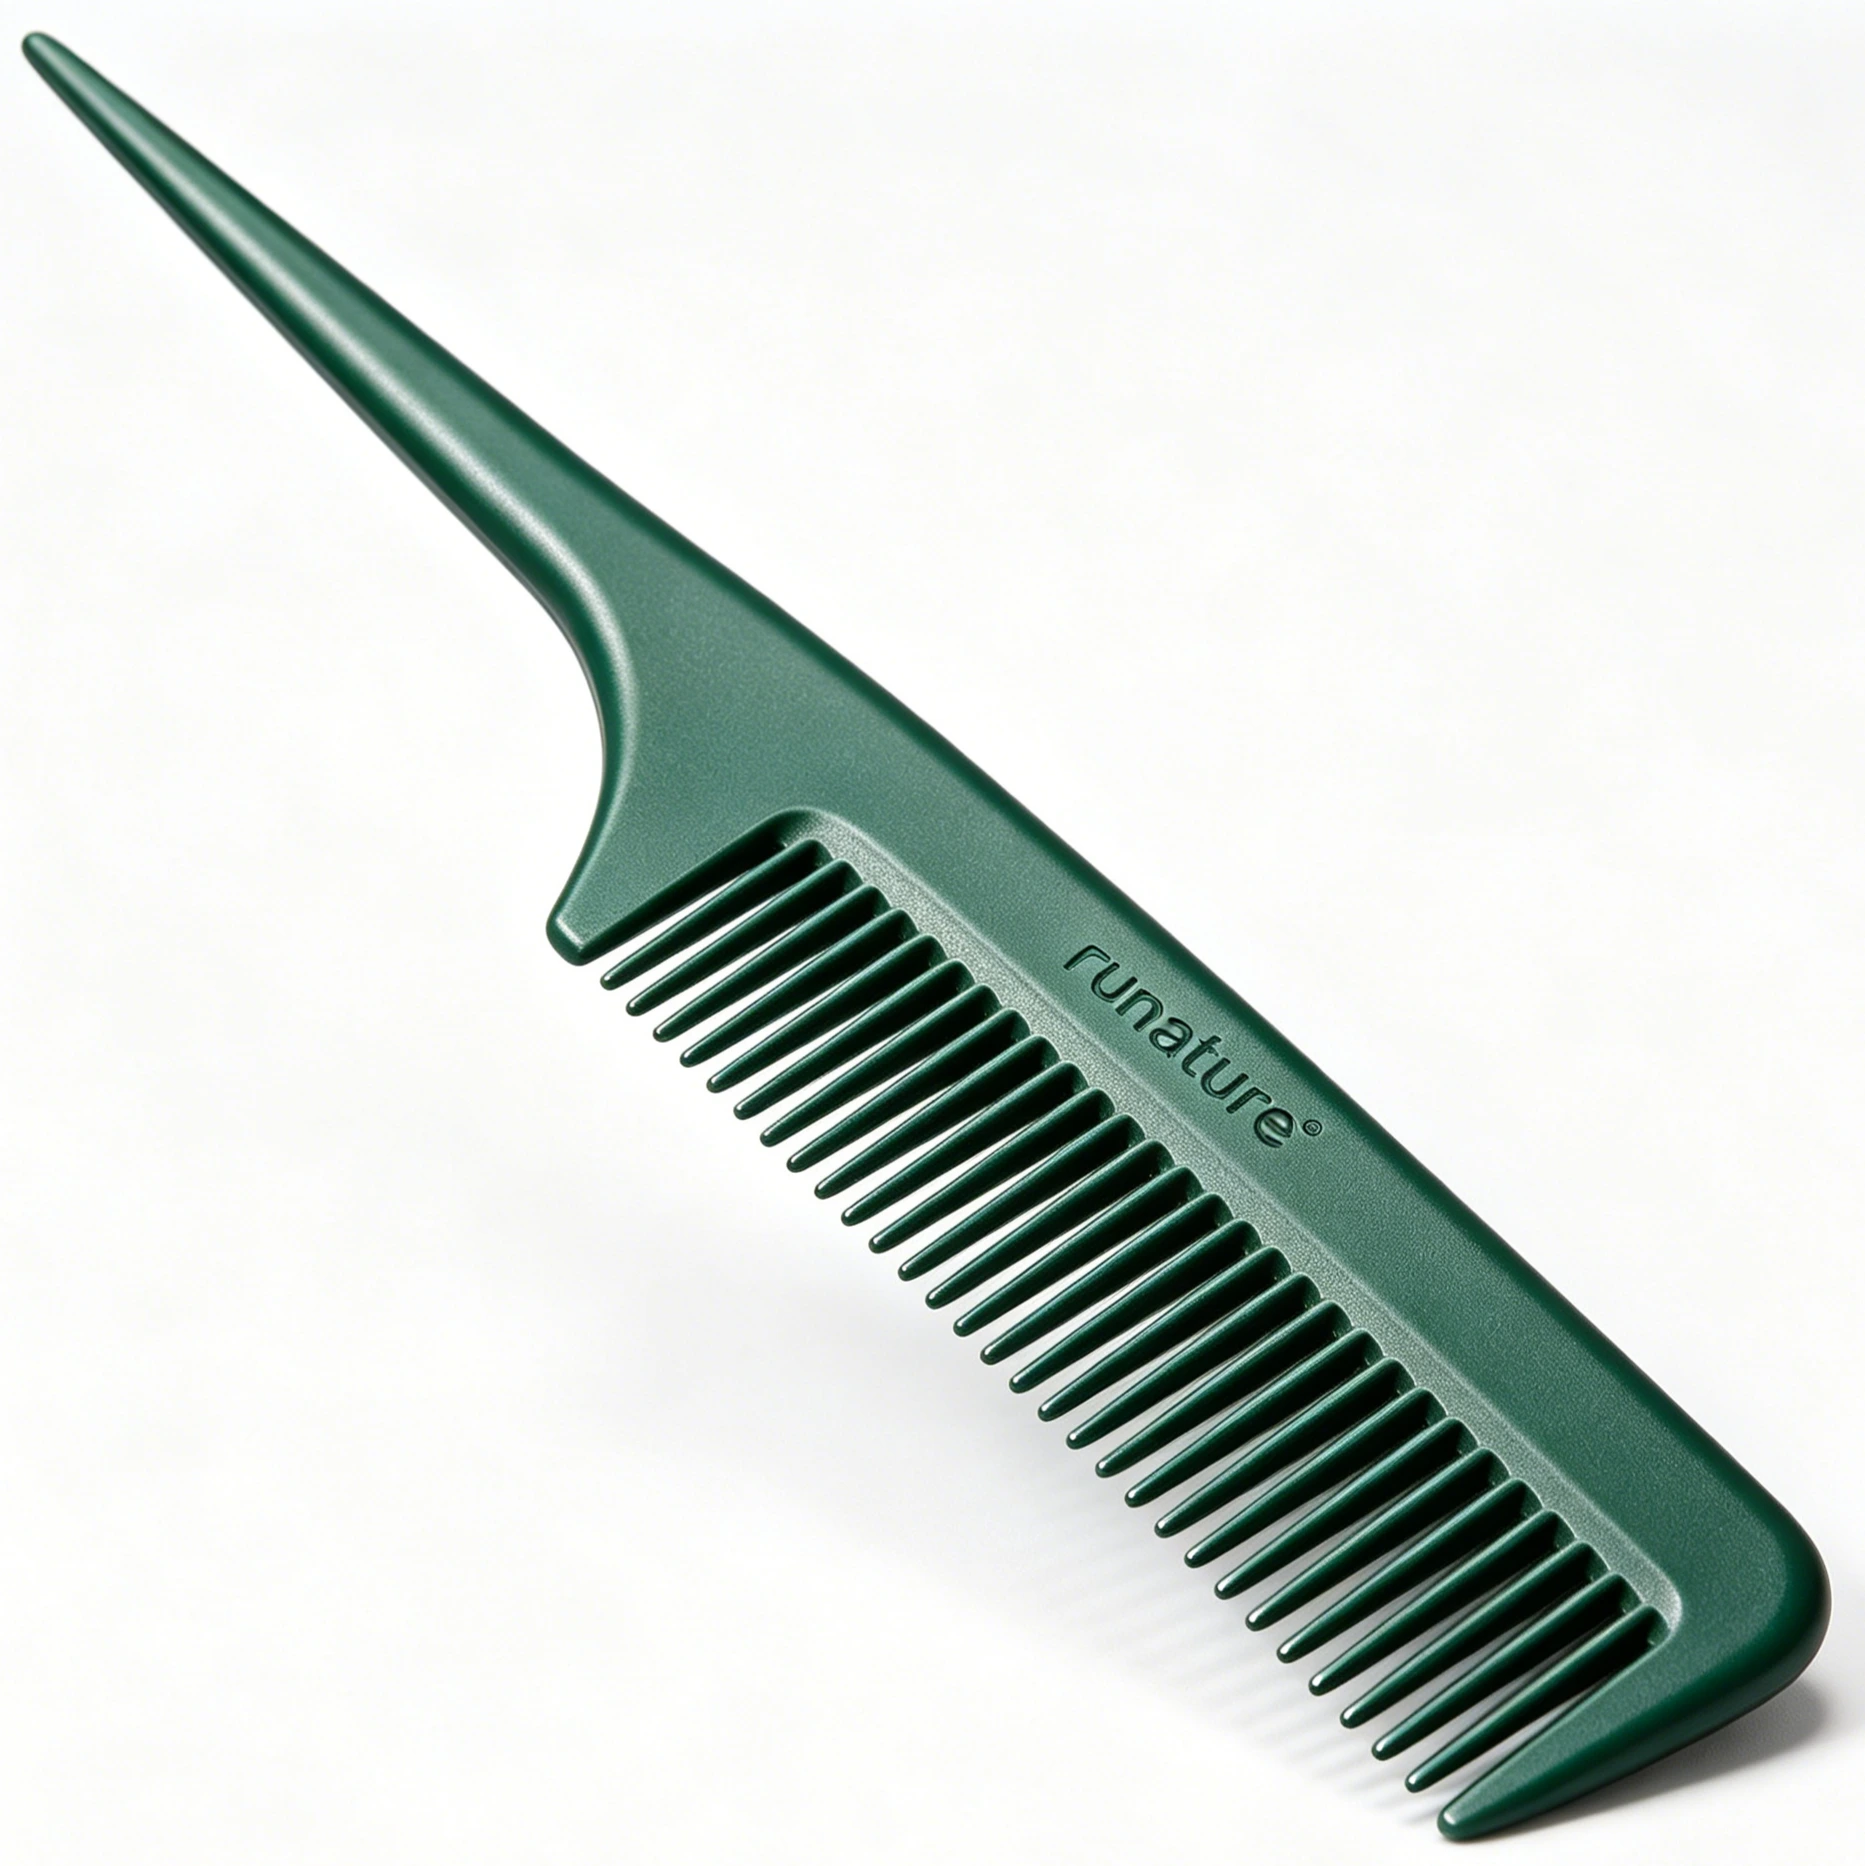
Step 2 — Create Clean, Precise Sections
Use a rat-tail comb to create horizontal sections starting at the nape.
Each section should be:
- Straight
- Cleanly parted
- Clipped securely
Work from bottom to top in rows.
Why sectioning matters:
Messy partings create uneven tension and poor weight distribution, which can loosen beads over time.
Step 3 — Select the Correct Amount of Natural Hair
Take a small, even strand of natural hair.
The rule:
The natural hair strand should be the same thickness as the extension tip.
Too much hair → bead cannot close fully
Too little hair → bead has nothing to grip
This is one of the biggest causes of bead fallout.
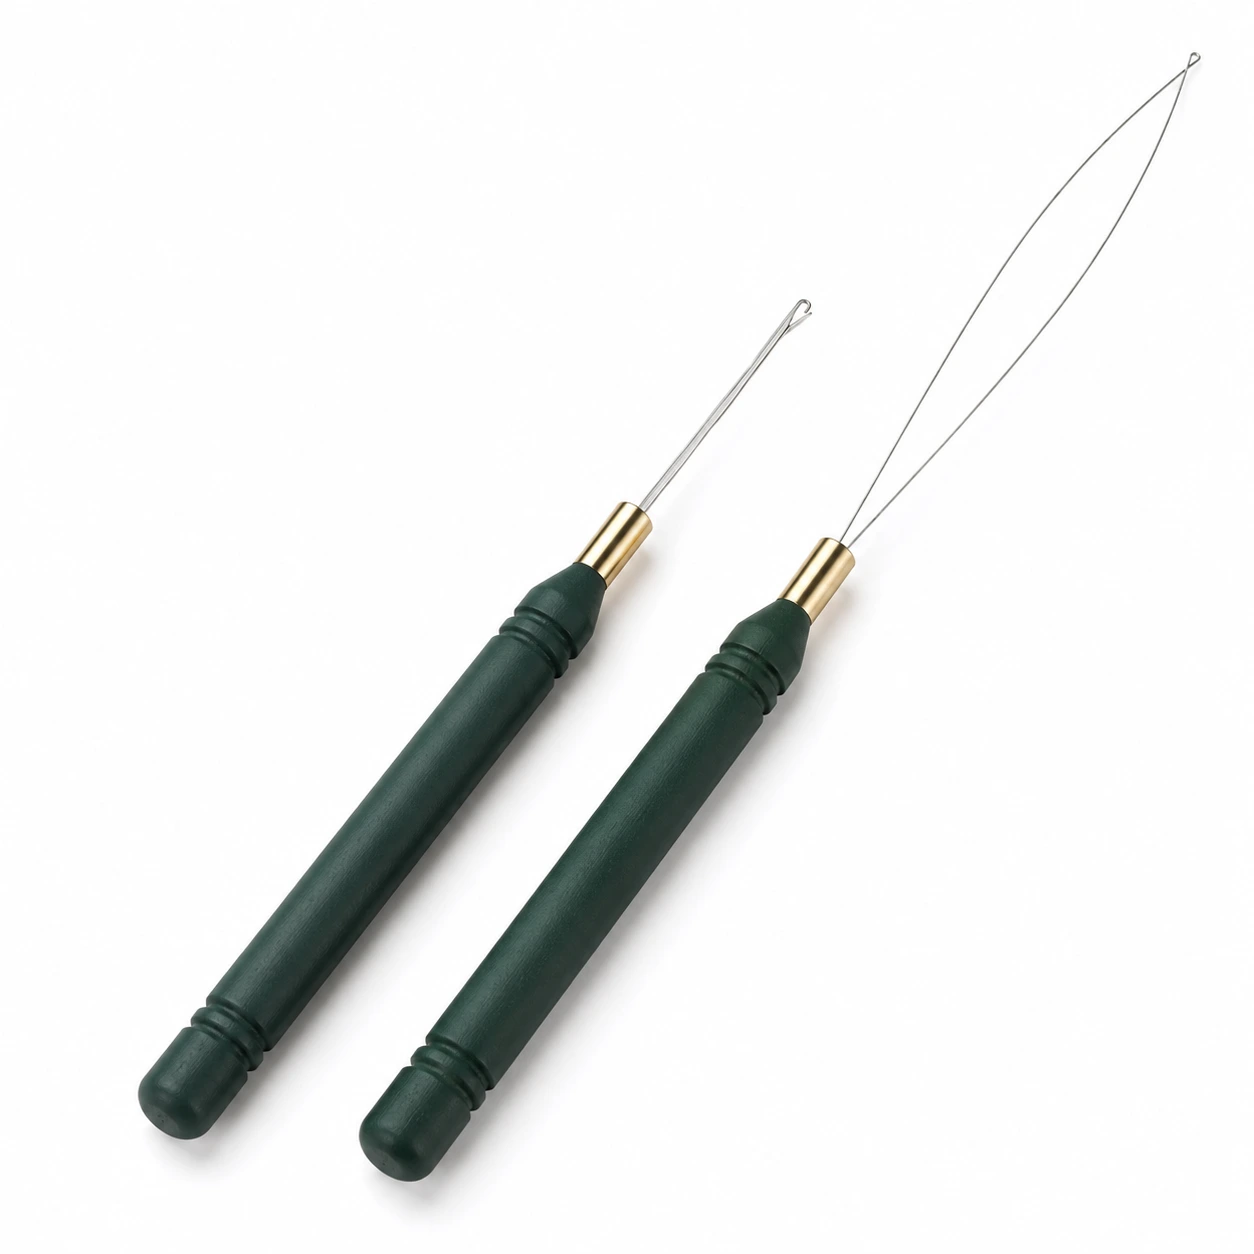
Step 4 — Load the Nano Bead Using the Loop Tool
- Slide a nano bead onto the loop tool.
- Insert the natural hair strand through the loop.
- Pull the loop so the bead slides onto the natural hair.
The bead should sit about ½ inch (1–1.5 cm) from the scalp.
Common mistake:
Placing the bead too close to the scalp → tension causes slipping and discomfort.
Too far → excessive movement loosens the bead.
Step 5 — Insert the Extension Tip
Insert the nano tip of the extension into the bead from below.
Make sure:
- The extension tip reaches the top inside edge of the bead
- The natural hair and extension align evenly
If the tip is only halfway inserted, the bead cannot hold properly.
⚠️ Half-inserted tips are a major reason extensions fall out after brushing or washing.
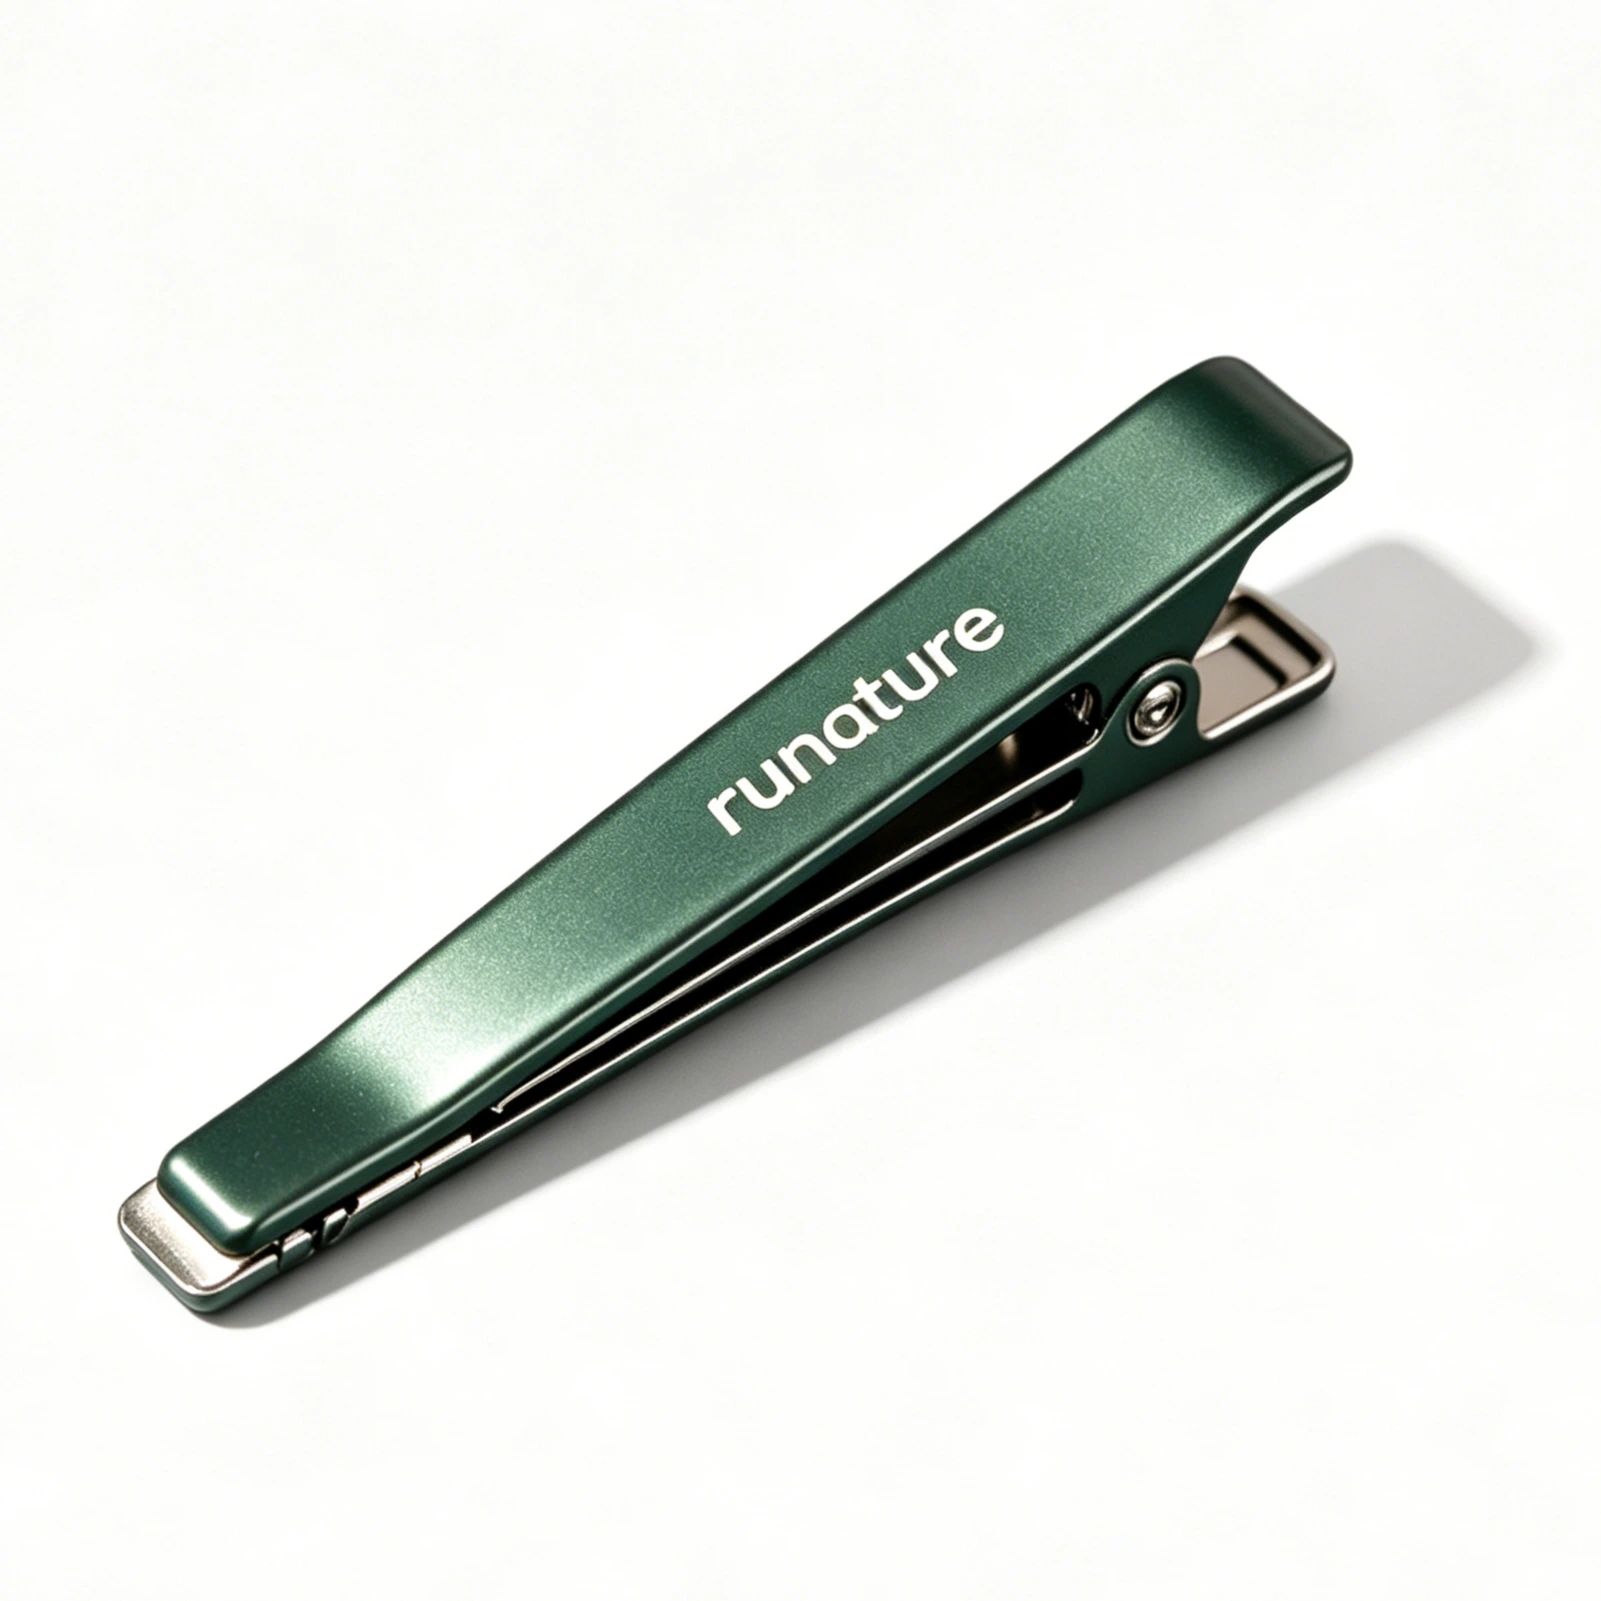
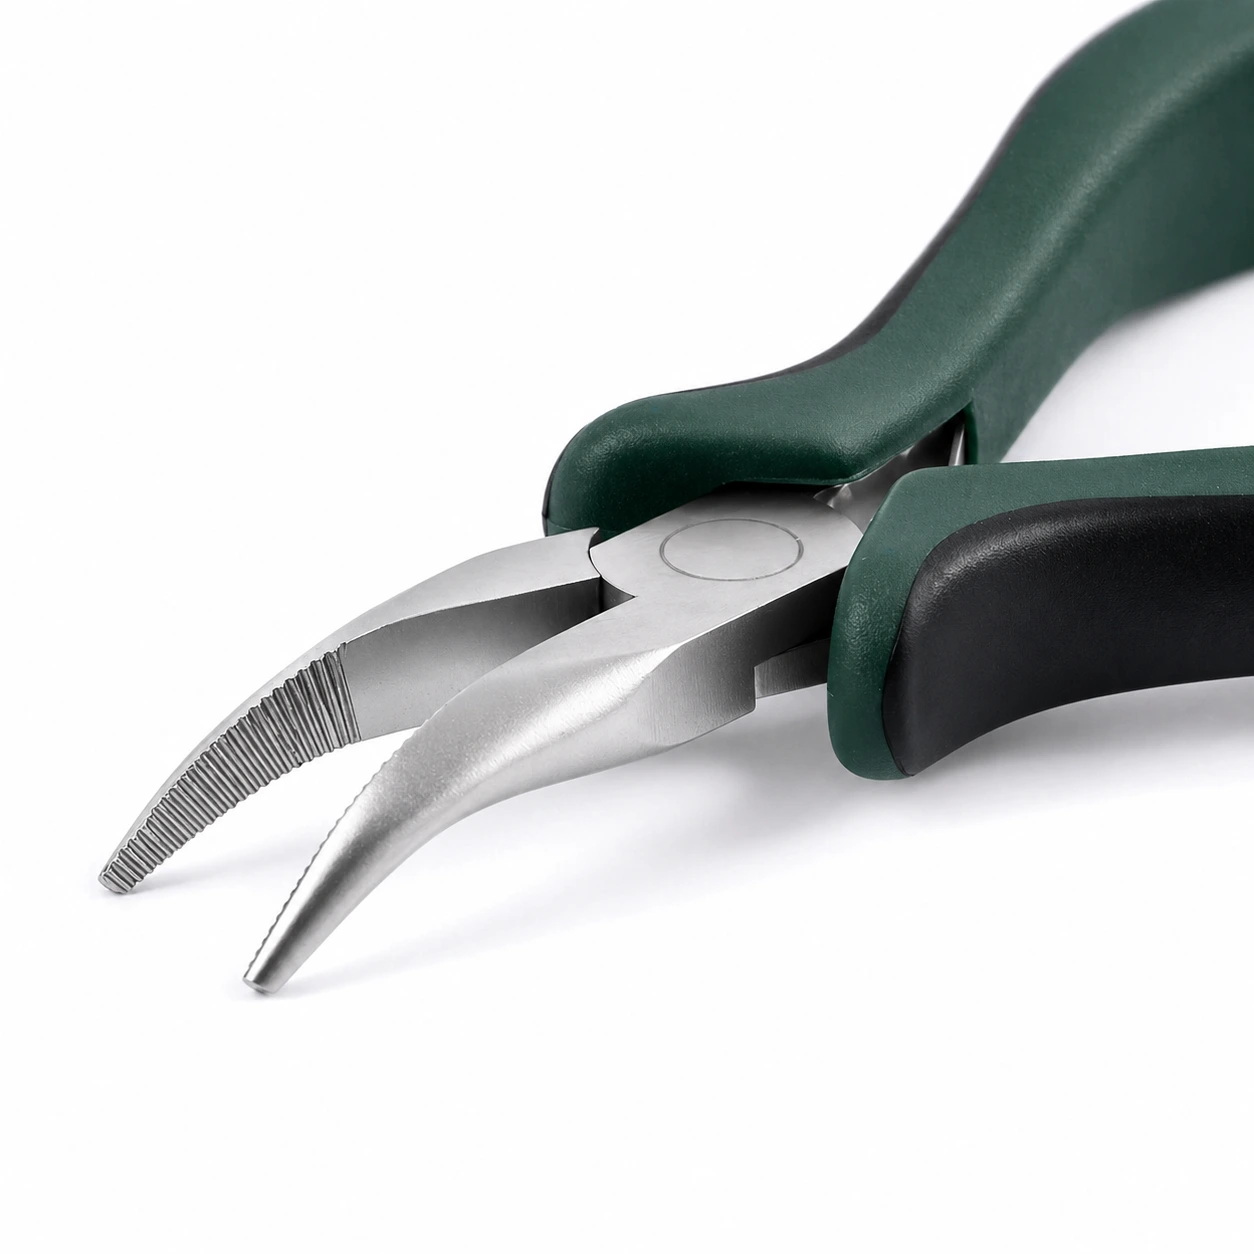
Step 6 — Clamp the Nano Bead Correctly
Using extension pliers:
- Hold the bead flat.
- Clamp firmly once.
- Do not over-crush.
The bead should become flat but not folded or misshapen.
Two critical mistakes here:
| Mistake | Result |
|---|---|
| Under-clamping | Bead slowly slides down |
| Over-clamping | Bead cracks or cuts hair |
The perfect clamp = firm grip without sharp edges.
Step 7 — Check for Security
Gently tug the extension downward. It should feel:
- Secure
- Comfortable
- Not pulling the scalp
If it slides, redo immediately. Skipping this quality check leads to early shedding weeks later.
Step 8 — Repeat Row by Row
Continue installing row by row while maintaining:
- Even spacing
- Consistent strand size
- Balanced placement
Avoid installing extensions too close to the hairline or crown where beads may be visible.
Where go wrong when install nano bead hair extensions?
Most bead slipping happens due to small technical errors during installation:
- Hair not properly clarified before install
- Using too much or too little natural hair per strand
- Extension tip not fully inserted into bead
- Beads clamped too lightly
- Beads placed too far from scalp
- Installing on damp or oily hair
- Uneven sectioning causing tension imbalance
Even one of these can reduce wear time significantly.
Aftercare Tips to Prevent Bead Slippage
After installation:
- Wait 48 hours before washing
- Avoid oils near the roots
- Brush gently using extension brush
- Tie hair loosely before sleeping
- Schedule maintenance every 6–8 weeks
Proper installation + maintenance = wear time of 2–3 months per installation and 6–12 months lifespan for the hair itself.